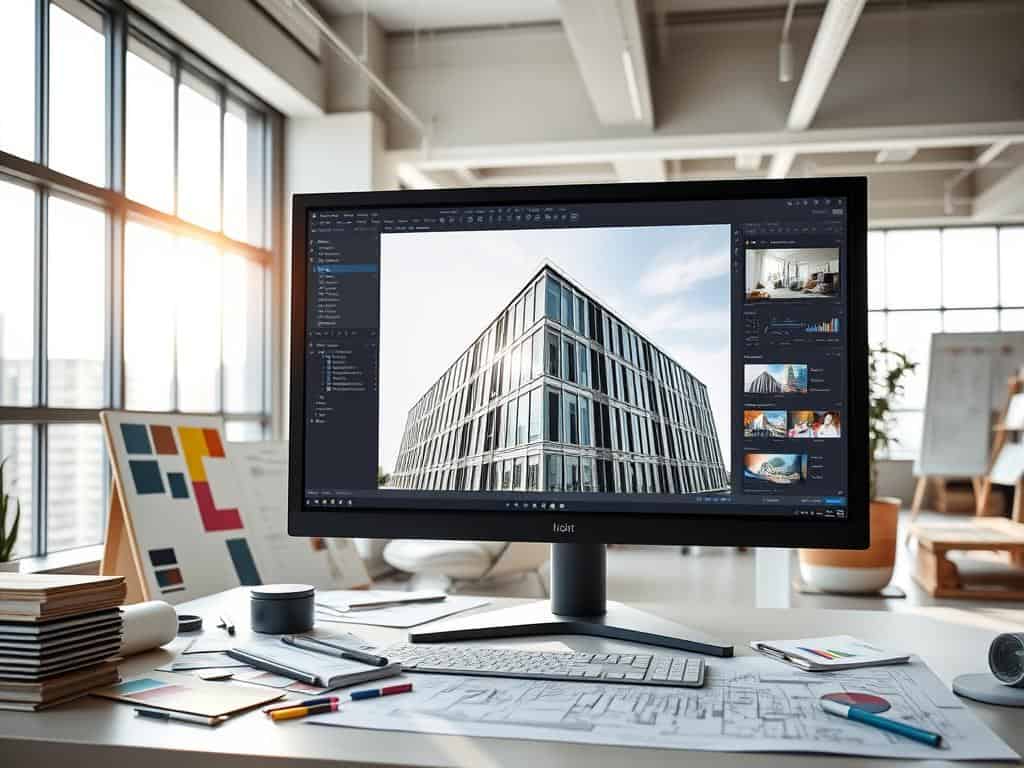

Did you know that during an architectural photography shoot, 300 to 1,000 images are often captured? This shows how detailed the process is. Editing architecture shots is more than just capturing a building’s essence. It’s about turning many images into a few standout ones.
Quality editing is key to making a structure look beautiful and detailed. It tackles challenges like complex lighting and distracting elements.
In my experience, the best photos come from great equipment, smart shooting, and expert editing. This article will share tips on editing architecture shots. We’ll focus on clarity, symmetry, and lens correction. We’ll also look at industry insights and proven practices to improve your editing skills.
Key Takeaways
- Capturing 300-1,000 images during a shoot is typical for architectural photography.
- Post-processing requires a careful balance of quality over quantity.
- Tools like Adobe Lightroom and Photoshop are essential for effective architectural photo editing.
- Achieving clarity and symmetry through adjustments is vital for quality images.
- Lighting conditions greatly influence the efficacy of architectural photo editing.
Essential Equipment for Architectural Photography
Getting the right gear is key to stunning architectural photos. The right equipment can greatly improve your photos’ quality. A high-resolution camera is essential for capturing details in various lighting.
Look for cameras that can handle both bright and dark areas well. This brings out the beauty of every part of the image.
Choosing the Right Camera
I suggest the Canon R6MKii camera body for architectural shots. It has a 24.2 MP full-frame sensor and in-body image stabilization. These features improve your image quality.
Also, consider cameras with 6K oversampled uncropped 4K video. This is useful for live shoots.
Utilizing the Best Lenses
Wide-angle lenses are a must for capturing buildings fully. I often use lenses with focal lengths of 17mm or wider. The 14-24mm f/2.8 lens is great for broad views and works well in low light.
Tilt-shift lenses are also key. They help correct perspective distortion, keeping buildings straight, even in upward shots.
Importance of a Tripod
A sturdy tripod is a must-have. It stops camera shake, making photos sharp, even in dim light. Using a tripod with a bubble level helps avoid crooked lines, making your photos better.
For better light in dark places, strobe lights are helpful. They provide balanced light, reducing the need for extra exposures.
Editing Architecture Shots
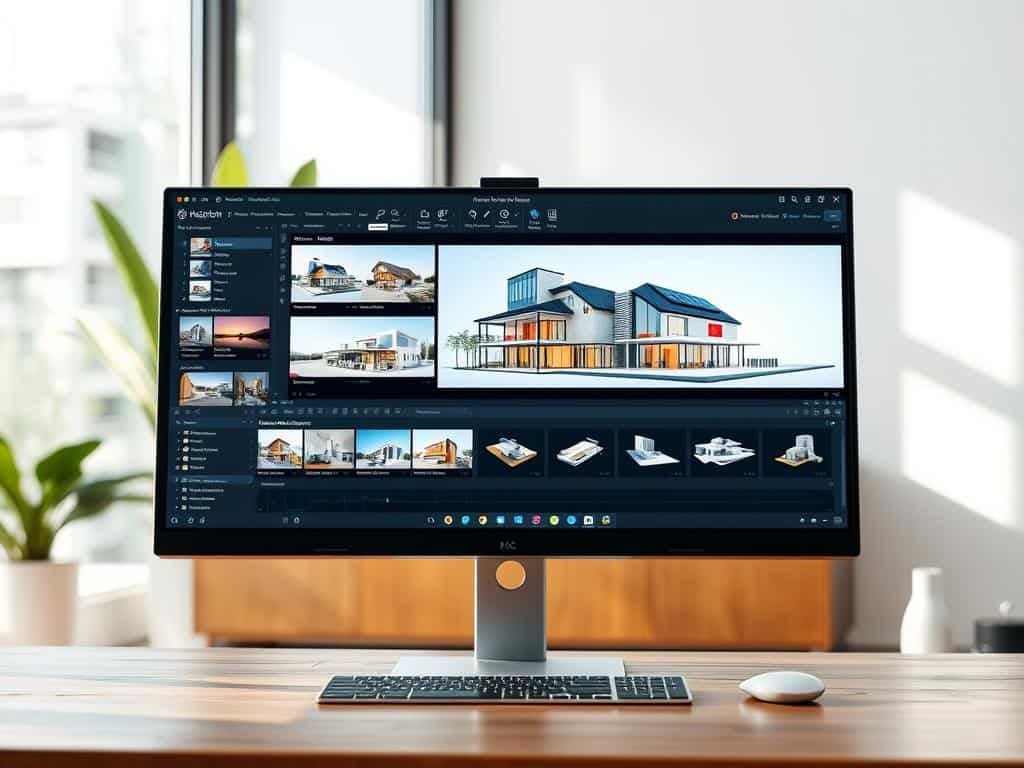
Editing is key in architectural photography. I use special software to make my images stand out. Adobe Lightroom and Photoshop are my go-to tools. They offer features like perspective correction and color adjustments.
Recommended Software for Editing
Choosing the right software is important for architectural photos. I often use Adobe Lightroom for its easy-to-use interface. It’s great for correcting perspective and fixing keystoning effects.
Photoshop is perfect for detailed adjustments and creative edits. It helps me enhance details and remove distractions. Both tools are essential for achieving professional results.
Adjusting Perspective and Symmetry
Correcting architectural elements is a must. I use Lightroom’s perspective correction tools to straighten lines and improve symmetry. Tilt-shift lenses also help reduce distortion.
Proper perspective correction makes images more appealing and accurate. It ensures the architecture in photos is true to life.
Brightness, Clarity, and Color Adjustments
Brightness and clarity are key for showing off architectural details. I work on shadows and highlights to add depth. Color adjustments are also important to set the mood and keep colors consistent.
A well-chosen color palette brings harmony to the architecture. This makes the photos more engaging and vibrant. The right techniques create stunning images that showcase the beauty of structures.
Conclusion
Mastering architectural photography is about preparation and editing skills. Using top-notch photography gear, like a DSLR camera and special lenses, boosts photo quality. Wide-angle and tilt-shift lenses are key for capturing buildings fully and fixing perspective issues.
Editing is just as important. I focus on color correction to fix lighting problems. Advanced editing software, with AI, helps me remove distractions and polish my photos. Tools like the LCC Tool in Capture One 7 are great for fixing color casts and ensuring even lighting.
As I get better at shooting and editing, I can push the limits of architectural photography. I keep trying new things and improving my style. This way, I capture the beauty of buildings in a way that impresses everyone. It’s all about planning, editing, and the right equipment making great photos.
