

Did you know RAW files give you significantly more flexibility for editing than JPEGs? RAW files let you make big changes in exposure, white balance, and color. This makes them the top choice for 80% of pro photographers. When you’re new to photo retouching, the many tools in editing software can seem too much. But, with a few simple tips, you can make your photos look amazing.
First, let’s get the basics right. Shooting in RAW instead of JPEG is key because it keeps more image data. This gives you more room to edit. Start with basic changes like exposure and white balance. These can really improve your image quality and prepare it for more advanced edits.
Key Takeaways
- Shooting in RAW offers more flexibility for adjustments.
- Focus initially on exposure and white balance corrections.
- Use histogram to understand tonal distribution in your images.
- Moderation in color saturation and vibrance is key.
- The average editing session for beginners lasts about 2 hours.
Setting Up Your Editing Workspace
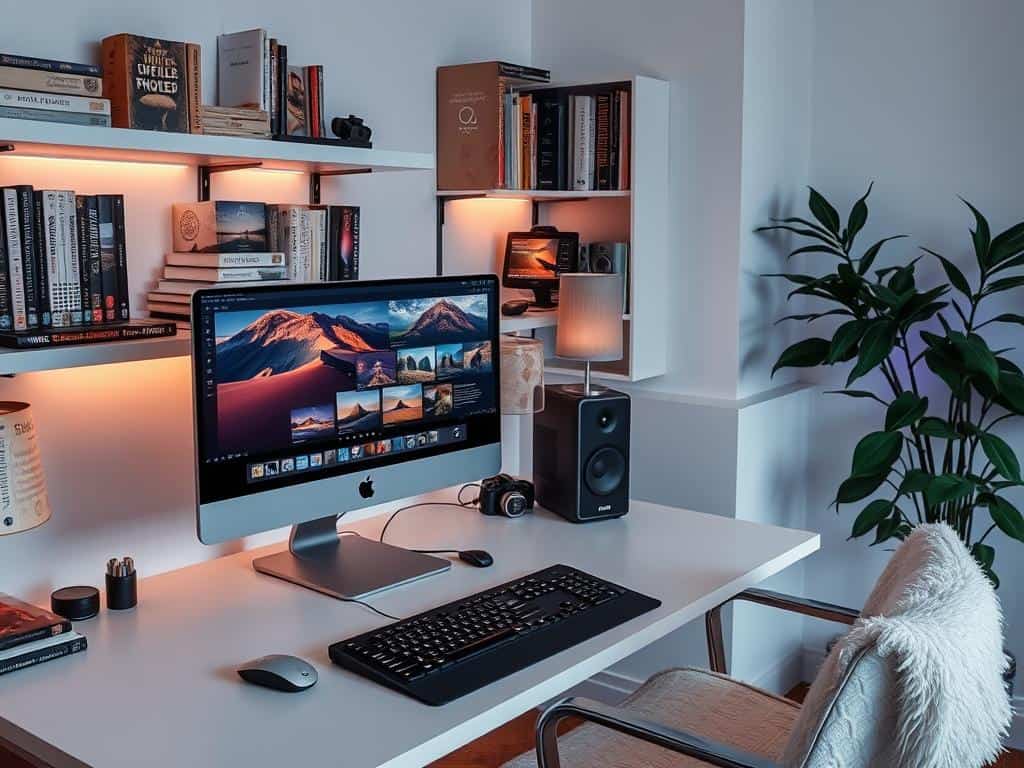
Creating a photo editing workspace that is both functional and comfortable is key to making high-quality edits quickly. I’ll share tips on organizing your tools, ensuring good lighting, and picking the right software. This will help you edit photos more effectively.
Organize Your Tools
Arranging your tools for easy access is vital for a smooth workflow. Modern computers, though portable, can cause back pain from poor posture. An external monitor can greatly improve comfort, helping you see photo details better.
Ergonomic keyboards and mice, along with adjustable monitor stands, can also reduce wrist and neck strain. These tools are essential for long editing sessions.
Good Lighting
Proper lighting is critical for accurate color in your edits. Aim for a color temperature between 5000K and 6500K for a balanced environment. Lights with a high Color Rendering Index (CRI) of 80 or above show true colors well.
Gray walls help avoid color casts and reflective biases, creating a neutral space. Avoid mixing bright daylight with soft indoor lamps to keep colors consistent.
Select the Right Software
Choosing the right software is important for your editing needs. Adobe Photoshop Elements is great for beginners, with a user-friendly interface and essential tools. For advanced users, Adobe Lightroom offers detailed editing options and a non-destructive workflow.
Make sure your software works well with your system to avoid editing disruptions.
Photo Editing Tips
For beginners, learning a few key photo editing tips can really make a difference. I’ll cover three important areas: cropping, adjusting exposure, and tweaking white balance.
Crop Your Images
The crop tool is essential for getting the right look in your photos. It helps focus the viewer’s attention on the main subject by removing distractions. This tool can greatly improve your image’s balance and harmony.
Correct Exposure
Getting the exposure right is vital for balanced images. Use histograms to fine-tune the exposure, ensuring your photos aren’t too dark or too bright. Lightroom and Photoshop have adjustment layers for non-destructive edits, allowing you to adjust without harming the original.
Adjust White Balance
Adjusting white balance is important for natural-looking colors in your photos. Wrong white balance can make images appear unnatural. Use the eyedropper tool to fine-tune the white balance. Again, adjustment layers in software like Photoshop make it easy to edit without damaging the original.
By following these tips, you’ll not only improve your photo’s technical quality but also grow your editing skills. This will lay a solid base for more complex techniques later on.
Conclusion
Now that you’ve learned about photo editing, you know how important a good workspace and tools are. A well-organized space with the right lighting and tools is key. Adobe Lightroom Classic is a top choice, combining organization and editing tools for pros.
This guide showed you the basics of photo editing, like cropping and adjusting exposure. These skills are essential for starting your editing journey. Remember, the more you practice, the better you’ll get. You’ll become more confident in your editing abilities.
Efficiency is also vital. Using tools like Lightroom’s “Auto Advance” and keyboard shortcuts can make editing faster. Batch editing and automation save time by applying settings to many images at once. Keep practicing and you’ll improve your editing skills.
By using these tips, you’ll be able to enhance photos like a pro. Whether you’re working on a big project or a single photo, these skills will help you achieve great results. Keep experimenting and your editing skills will grow. Happy editing!
