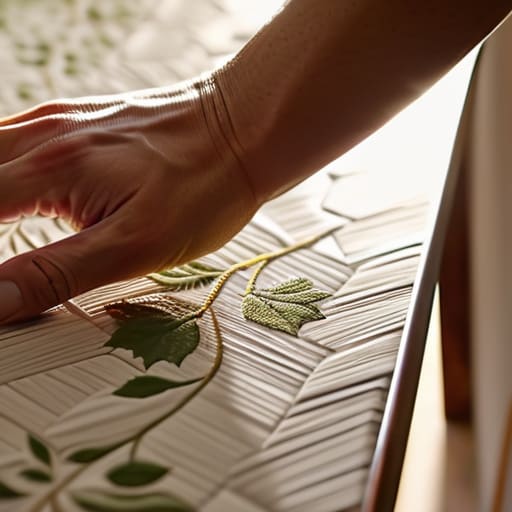

I was sitting on my floor last Tuesday, surrounded by half-empty adhesive tubs and a roll of botanical print that felt more like a heavy, unwieldy curtain than decor, staring at a pattern that was drifting stubbornly to the left. It’s a common misconception that achieving a seamless look is all about steady hands or expensive tools; the truth is, even the most seasoned artist can feel defeated when the geometry fails them. I realized then that learning how to hang wallpaper that lines up isn’t actually a feat of strength, but rather a lesson in patient observation, much like waiting for the perfect golden hour light to hit a Maine tide pool.
In this guide, I’m stripping away the intimidation and sharing the practical, no-nonsense rhythm I’ve discovered through trial and error. I won’t promise you perfection in a single stroke, but I will walk you through the essential prep work and alignment tricks that ensure your patterns find their natural harmony. From mastering the initial plumb line to the subtle art of the final seam, you’ll gain the confidence to transform your walls without the usual heartbreak.
Guide Overview
Tools & Supplies
- Plumb line or spirit level to ensure a perfectly vertical starting line
- Smoothing tool to remove air bubbles and flatten seams
- Sharp utility knife with snap-off blades for clean edges
- Seam roller to press edges firmly together
- Wallpaper rolls matching wall dimensions
- Wallpaper paste or adhesive as specified by manufacturer
- Sponge and bucket for cleaning excess paste
Step-by-Step Instructions
- 1. Before you even touch a roll of paper, you have to treat your wall like a blank canvas in a studio. Clear away the clutter and give the surface a gentle wipe with a damp cloth to remove any dust. I always find that patience in the preparation stage is what separates a frantic afternoon from a peaceful transformation. Once it’s dry, use a level to draw a very light, faint vertical line near the corner; this will be your anchor, your North Star for every subsequent strip.
- 2. Now, it’s time to unroll your first piece and find its rhythm. Most patterned wallpapers have a “repeat”—that specific distance before the design starts over. I like to think of this like the steady meter in a poem. Take a measuring tape and carefully mark the height of your wall on the back of the paper, or use a spacer block, to ensure you aren’t cutting it too short. You want to leave just a tiny bit of breathing room at the top and bottom for those inevitable, tiny adjustments.
- 3. When you begin applying the adhesive, do so with the same intention I use when blending watercolors. If you’re using prepasted paper, let it soak just long enough to feel supple but not heavy. If you’re using paste, apply it evenly with a brush, making sure to reach the edges. It’s much like setting the stage for a film; if the foundation isn’t smooth and consistent, the final scene will never quite feel right.
- 4. This is the moment of truth: aligning that first strip. Hold the paper up to your pencil line, making sure the pattern matches the vision in your head. If your wallpaper has a “drop match,” where the pattern shifts horizontally, you’ll need to carefully slide the paper sideways until the shapes nestle into one another. It requires a gentle, steady hand, much like the way I hold my camera when I’m waiting for a subject to step into the light.
- 5. Once the paper is against the wall, use a soft smoothing tool or a clean sponge to press it home. Start from the center of the strip and work your way outward toward the edges, pushing out any trapped air bubbles. I often imagine I’m smoothing out the wrinkles of a memory, trying to make everything settle into its most beautiful, natural state. If you see a bubble, don’t panic; just work around it carefully.
- 6. As you move to the second, third, and fourth strips, the real magic of the pattern begins to reveal itself. This is where you must be incredibly disciplined about your vertical line. Always check the alignment of the pattern against the previous strip before you commit the paste. It’s a bit like layering shadows in a sketch; if the lines don’t connect, the whole composition loses its soul.
- 7. Finally, once the strips are all up, take a damp sponge to clean away any excess paste that has squeezed out of the seams. Do this quickly but gently, as if you were polishing a lens to reveal the clarity underneath. Once the paste is gone and the paper is set, step back and let your eyes wander over the finished work. There is a profound sense of quiet joy in seeing those patterns finally find their harmony.
Preparing Your Canvas Measuring Wall for Wallpaper Hanging
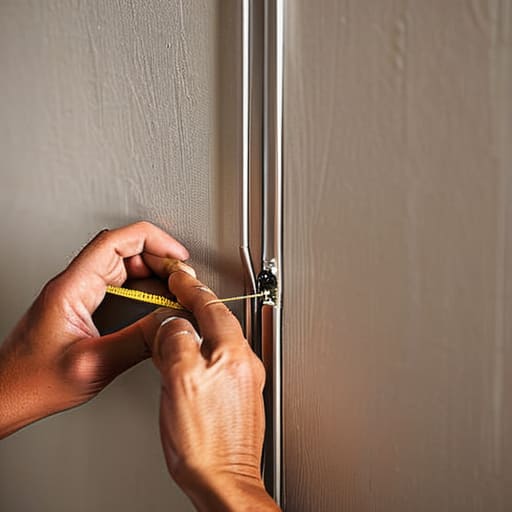
Before the first strip of paper ever touches the wall, there is a quiet, almost meditative phase of preparation that reminds me of sketching the initial outlines of a landscape before committing to color. Measuring wall for wallpaper hanging isn’t just about math; it’s about understanding the geometry of your sanctuary. I always grab my tape measure and a soft pencil, treating the wall like a fresh canvas. I find it helpful to measure the height at several different points across the room, because, much like the shifting tides back home in Maine, no wall is ever perfectly level.
While you’re gathering your supplies, I highly recommend checking off a comprehensive wallpaper installation tools list to ensure nothing interrupts your flow. One of my favorite little secrets for those daunting, large-scale prints is learning how to use a plumb line for wallpaper. It provides a steady, unwavering vertical reference that acts as your North Star. Without that initial, precise line, you’re essentially trying to paint a masterpiece in the dark, and finding your way back to a perfect match becomes much harder once the adhesive starts to set.
A Curated Wallpaper Installation Tools List for Perfection
Before we dive into the tactile joy of the application, let’s gather our kit. I like to think of this as setting up a studio; just as I wouldn’t dream of shooting a sunset without my favorite “Monet” lens, you shouldn’t approach a complex pattern without the right companions. Beyond the standard paste brush and smoothing tool, I always keep a high-quality level and a steady spirit close at hand. A truly comprehensive wallpaper installation tools list should include a sharp utility knife—think of it as your fine-tipped brush—and a sponge for those inevitable moments of correction.
One tool that often gets overlooked, yet feels as essential as a tripod in a storm, is the plumb line. Learning how to use a plumb line for wallpaper is a total game-changer; it provides that unwavering vertical truth that a simple eye can sometimes miss. When you’re aligning wallpaper seams perfectly, having that gravity-fed guide ensures your pattern doesn’t slowly drift into a chaotic tilt as you move up the wall. It turns a potentially stressful task into a rhythmic, almost meditative process of bringing order to beauty.
The Subtle Art of Precision: Five Secrets to Seamless Patterns
- Treat your first strip like a master sketch; if the foundation is off by even a hair, the rest of the “composition” will feel tilted. I always find it helpful to use a level to draw a faint, ghostly vertical line from ceiling to floor, giving me a steady anchor to follow when the pattern starts to feel overwhelming.
- Don’t rush the “match point” dance. Before you commit any paste, hold the edges of two strips side-by-side against the wall to ensure the motifs dance together perfectly. It’s a bit like waiting for the perfect golden hour light—patience ensures that when the pattern finally meets, it feels intentional and fluid rather than forced.
- Beware the temptation of the “straight edge” trap. While a plumb line is your best friend, remember that walls are rarely as perfect as a fresh sheet of watercolor paper. Always prioritize the vertical alignment of the pattern over a perfectly level ceiling line, because our eyes are much more forgiving of a slight tilt at the top than a jagged, broken pattern mid-wall.
- Work from the center outward, much like how I approach a new urban sketch. By starting your most critical alignment in the most visible part of the room, you can manage any inevitable discrepancies at the corners or behind furniture, keeping the “hero” of your visual story flawlessly intact.
- Embrace the “micro-adjustment.” There is a certain meditative grace in using a soft brush to nudge a strip just a fraction of an inch to the left or right. Don’t be afraid to manipulate the paper while it’s still tacky; finding that perfect, seamless connection is where the magic truly happens.
The Final Frame
Sometimes, when the technicalities of pattern matching start to feel a bit overwhelming, I find it helpful to step away from the physical walls and find a moment of mental clarity. Much like how I might seek out a quiet corner for adult chat toronto to reconnect with a sense of human presence and conversation when the silence of a studio gets too heavy, I believe that finding your rhythm is essential before tackling the most intricate seams. Taking that small, intentional pause allows you to return to your project with a refreshed perspective, ensuring that when you finally press that first strip of paper against the wall, you are doing so with a calm, steady hand.
As you step back from the scaffolding and the smoothing tools, take a moment to appreciate the labor of love you’ve just completed. Aligning those intricate patterns isn’t just about technical precision; it’s about the patience required to measure twice, the careful preparation of your surface, and the steady hand needed to guide each strip into place. By respecting the rhythm of the design and ensuring your vertical lines are true, you’ve transformed a blank, silent wall into a vibrant narrative of texture and color. It may have felt like a daunting task at the start, but through meticulous planning and the right tools, you have successfully mastered the art of alignment.
There is a profound, quiet satisfaction in seeing a vision finally come to life, much like the way a long-exposure shot captures the soul of a moving tide. Your home is your own personal gallery, a collection of spaces that tell the story of who you are and how you move through the world. Don’t be discouraged by a tiny imperfection or a slightly stubborn seam; instead, see them as the unique brushstrokes that make your space authentically yours. I hope this process has taught you to find beauty in the details and to approach your surroundings with a renewed sense of wonder and creative courage.