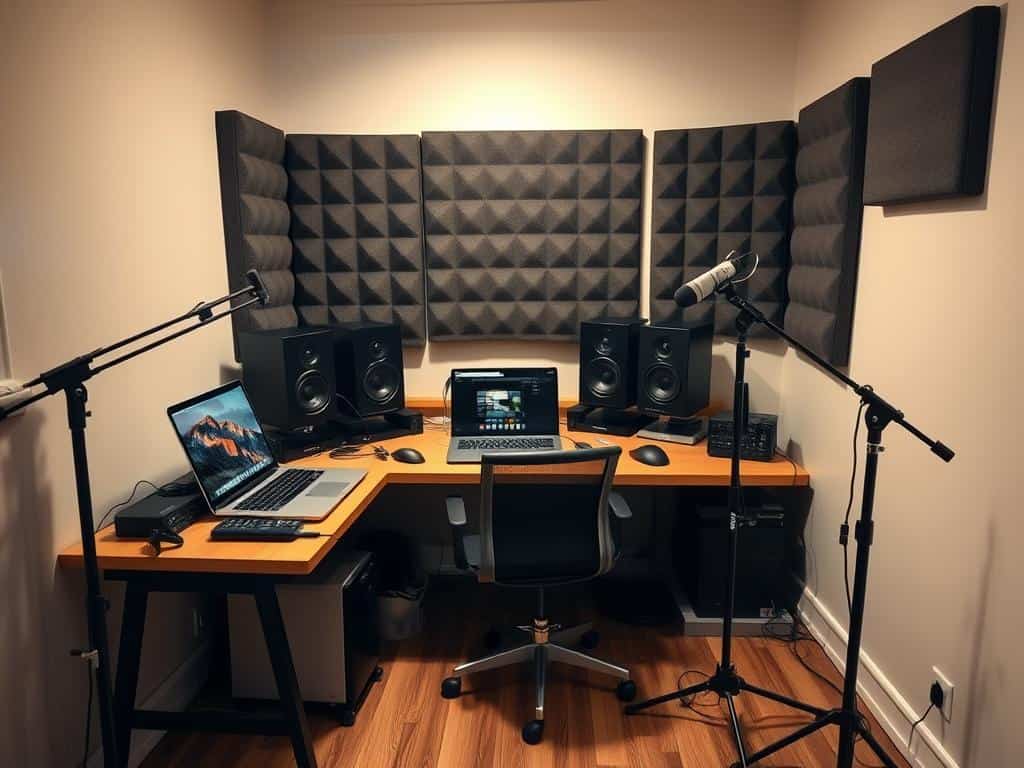

Did you know setting up a basic home recording studio can start at just $750? This is amazing, given the quality of budget studio equipment today. Thanks to new tech, I can make professional recordings at home, just like Billie Eilish did with her debut album.
Creating a budget studio is not only possible but also fun. It lets me be creative without spending a lot. With smart budgeting and choosing the right gear, I know what I really need. I’m learning to make a space that works for me, using affordable lighting and DIY ideas. Let’s find out what you need to make your dream studio without spending too much.
Key Takeaways
- Start your budget studio with essential components tailored to your space.
- Consider the importance of a good computer and digital audio workstation for music production.
- Select affordable gear that offers quality performance, such as microphones and audio interfaces.
- DIY setups can maximize creativity without a substantial financial investment.
- Understanding the overall costs and making calculated choices can lead to a rewarding home studio experience.
Essential Components for Your Budget Studio Equipment
Setting up a budget studio needs careful thought about key components. Knowing the space available is key to sound quality. The room’s shape and size affect sound, so it’s important to get it right.
Understanding Your Space Requirements
First, I check the space I have. I try to avoid rooms with low ceilings and square shapes. These can cause sound problems. A good room layout is vital for professional-sounding recordings.
Choosing the Right Computer
Choosing the right computer is essential for music production. I look for at least 8GB of RAM and a 4-core processor. A mix of SSD and HDD is best for performance and storage.
While Macs cost between $1,300 and $2,000, building a custom PC can save money. It’s a cost-effective way to meet my needs.
Importance of a Good Digital Audio Workstation (DAW)
The DAW I choose affects my workflow and creativity. Options range from free DAWs like GarageBand for beginners to Logic Pro X for advanced users. The right software boosts my production skills.
Free versions may have limitations, but they’re great for starting and experimenting. They help me find my sound.
Choosing Affordable Gear Without Compromising Quality
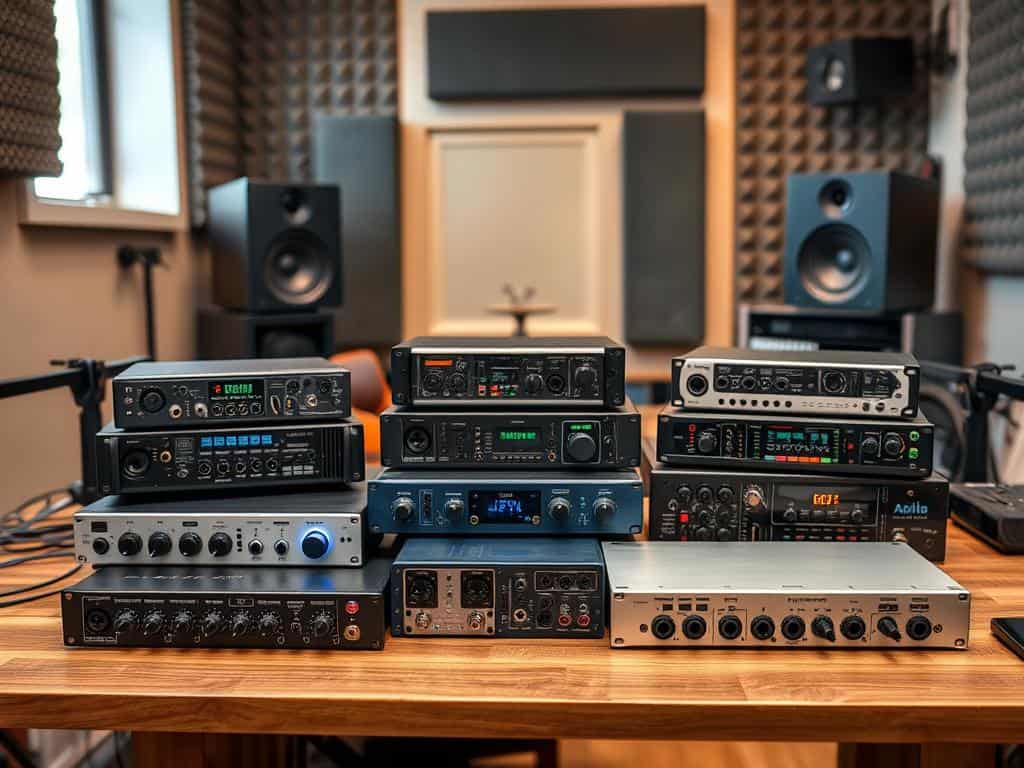
Setting up a budget studio means picking the right gear without losing sound quality. I’ve learned that choosing wisely about audio interfaces, microphones, and monitors can save money. Yet, it can also lead to great results.
Audio Interfaces: Selecting a Budget-Friendly Option
I often choose the Focusrite Scarlett 2i2 (3rd Gen) for my audio interface needs. It has two high-quality mic preamps, perfect for recording at the same time. It’s great for both beginners and pros.
The Behringer UMC22 is another good option for beginners. It has one mic preamp and one instrument input. It’s affordable and perfect for singer-songwriters starting out.
Microphones: Entry-Level to Professional Picks
Choosing the right microphones is key to sound quality. The Shure SM57 dynamic microphone is around $100 and versatile. It can handle high sound pressure levels.
The Audix M1250B condenser microphone is under $200 and has a compact design. It’s great for various recording scenarios. The Blue Yeti USB microphone is around $130 and supports multiple polar patterns. It’s versatile for podcasting and music recording.
Studio Monitors: Balancing Price and Performance
Getting affordable studio monitors is important for mixing. The JBL Professional 305P MkII is around $150 each. It has clear sound and room tuning capabilities.
Choosing the right gear lets me create the sound I want without spending too much. This makes my setup both effective and budget-friendly.
Maximizing Creativity with DIY Setups and Cheap Studio Gear
Setting up a home studio doesn’t have to be expensive. I’ve learned that creativity can bloom with DIY acoustic treatments and cheap studio tweaks. By spending time on sound improvement, I can make my recording space better without spending a lot.
DIY Acoustic Treatments for Sound Improvement
DIY acoustic treatments can really boost sound quality in my studio. Stuff like foam panels, thick curtains, or even old blankets work great as sound absorbers. These cheap fixes cut down on echoes, making my recordings clearer.
Using materials to cover reflective surfaces and making DIY diffusers from bookshelves has helped a lot. It’s all about finding the right balance of sound to improve my recordings.
Setting Up a Functional Workflow
Creating an efficient workflow is key to a smooth studio experience. I make sure all my gear is within arm’s reach to avoid distractions. Setting up cable management on pegboards cost me under $100.
This organized setup boosts my productivity and helps me stay creative. It’s all about having a space where I can freely express myself.
Conclusion
Looking back, setting up my budget studio was possible with careful planning and smart choices. I focused on key items like a good computer, audio interface, and microphones. This way, I could create a space for my art without spending too much.
Choosing affordable yet quality items like the Shure SM57 for $99 and KRK Rokit 5 monitors helped me stay on budget. These options ensured I got great sound without breaking the bank.
Understanding what I needed for my space was key. Buying refurbished computers and second-hand gear saved me a lot of money. I found deals up to 80% off on eBay and Craigslist. Plus, free digital audio workstations like Audacity made music production accessible to everyone.
The secret to my success is mixing creativity with smart spending. Simple DIY acoustic treatments can greatly improve sound quality without costing much. Having a good workflow also boosts my productivity. Every choice I make in my budget studio reminds me that amazing results are possible without overspending, helping me keep moving forward creatively.
