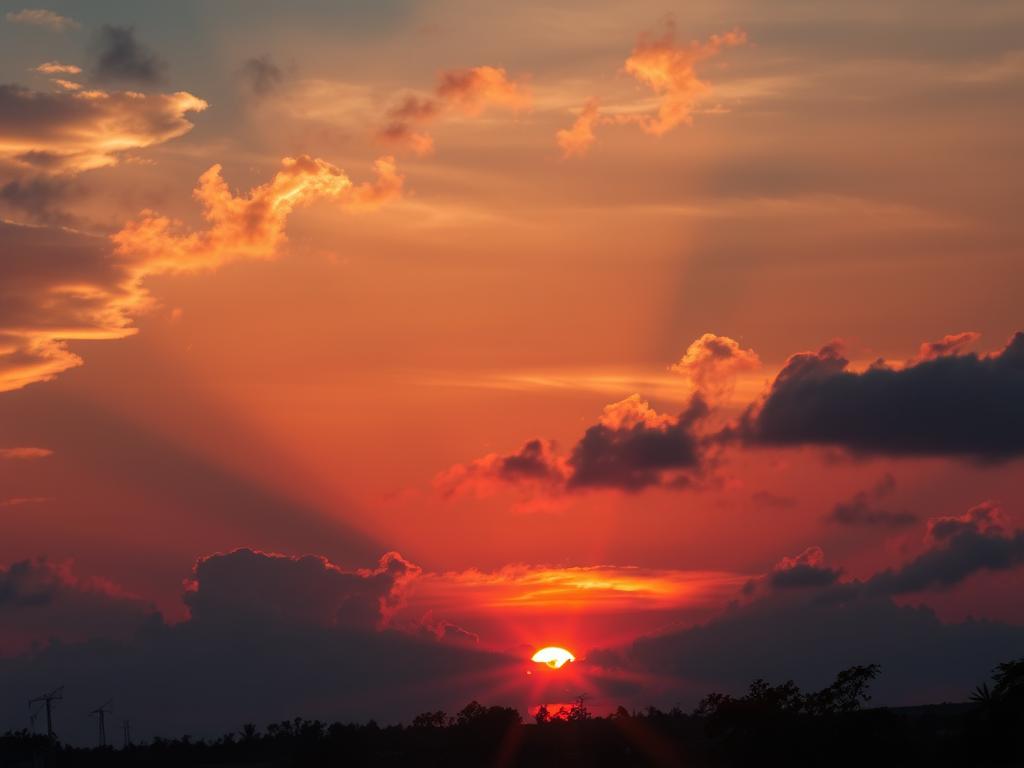

Did you know that lenses with more elements, like zoom lenses, show more lens flare? This cool part of photography can make your images look amazing. With a $25 lens, you can create stunning visuals that play with light in creative ways. In this Photoshop lens flare tutorial, I’ll show you how to add realistic lens flare to your photos. It makes your images look better and adds depth and atmosphere.
As a photographer, I’ve used lens flare to add emotion and atmosphere to my photos. With Adobe Photoshop, you can change layers and blend modes easily. This lets you create stunning sun flares and light leaks without harming your original photo. This tutorial is for everyone, whether you’re new or experienced. It will teach you how to add realistic lens flare and make your photos stand out.
Key Takeaways
- Lens flare can enhance photographic depth and atmosphere.
- Understanding lens types is key for applying flare well.
- Non-destructive editing in Photoshop lets you make flexible changes.
- Using layers and blend modes can create amazing light effects.
- This tutorial is for both beginners and experienced users.
Understanding Lens Flare Effects
A lens flare can turn a simple photo into something amazing. To really get it, you need to know what lens flare is. It happens when bright light hits a camera’s lens, causing light to scatter in the photo. This effect is seen in about 90% of photos taken near strong light sources like the sun.
What is Lens Flare?
Lens flare is when light gets into the lens without control, causing different reflections. The look of lens flare changes based on the camera settings and lens type. Knowing about lens flare helps photographers use it creatively, not just as a flaw.
Types of Lens Flare Effects
Photographers can play with different lens flare types to add unique looks to their photos. Here are some common ones:
- Ghosting: Shows as rings around bright lights.
- Starburst: Happens with small apertures, making stars in the photo.
- Veiling: Creates a soft light curtain over the image.
- Anamorphic Lens Flare: Seen in movies, it makes horizontal streaks.
Importance of Lens Flare in Photography
Lens flare does more than just look good. It adds warmth and depth, making photos more engaging. To use lens flare well, you need to know your gear and the light around you. With a few tricks, you can make lens flare work for you.
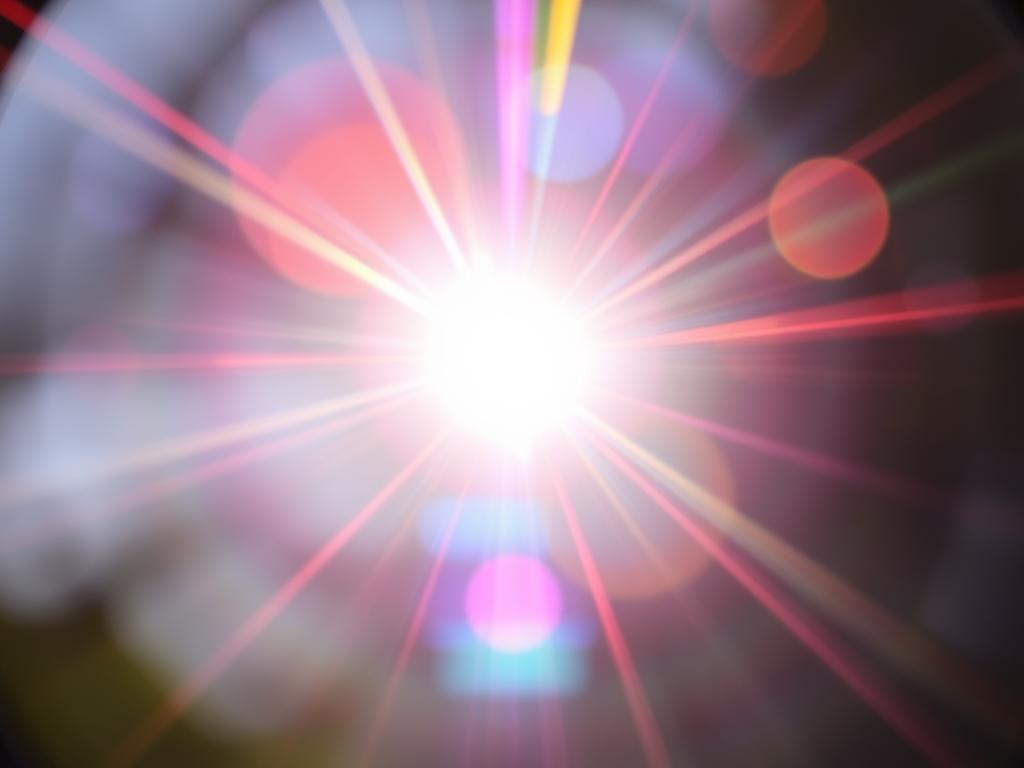
Adding Realistic Lens Flare Effects in Photoshop
Adding lens flare effects can make your images look amazing. To do this, using the Photoshop lens flare filter is essential. Before starting, make sure your image is ready for editing.
Preparing Your Image
First, I make sure my image is ready for non-destructive editing. I duplicate the background layer. This lets me make changes without harming the original image. It’s important to keep the original pixels safe.
Step-by-step Process
To start, I create a new blank layer. I hold the Alt key (Windows) or Option key (Mac) while clicking on the New Layer icon. This layer is black, which is key before applying the filter. Then, I go to the Filter menu and choose Lens Flare. I make sure the light source is clear in my image for a realistic look.
After adding the lens flare, I change the layer’s blend mode to Screen. This makes the black background disappear while keeping the flare bright. To make it look even better, I might adjust the brightness and use a Gaussian Blur filter with a radius of about 12 pixels. This softens the flare’s edges.
Occasionally, I adjust the flare’s hue using a Hue/Saturation adjustment layer. This layer is clipped to the flare layer. It helps me get the perfect color and keeps my edits non-destructive. If I need to change the flare back, it’s just one step in the Filter menu.
By managing adjustments and layers well, adding lens flare can really enhance your images. It makes them happier and more engaging. With practice, this skill becomes a valuable part of my Photoshop toolkit.
Conclusion
Adding realistic lens flare effects in Photoshop can really make images pop. By trying out different flares and adjusting colors, I can get the look I want. This guide shows how important it is to edit without harming the original photo.
Learning about lens flares has been key. I know how they happen under certain lights and how good lenses can help. Whether I’m using zooms that get flare or primes that don’t, I can control the look. Using Photoshop to add flares makes my photos more interesting and can even stir emotions.
As I keep learning, I can turn simple photos into amazing ones. With practice and the right tools, I can add flare effects that grab people’s attention. This skill helps tell powerful stories through my photos.
