
I remember sitting on the floor of my first tiny studio apartment, surrounded by stacks of photography monographs and well-worn novels, watching a cheap, particle-board shelf slowly bow under the weight of a single heavy art book. It felt like a metaphor for something much deeper—the frustration of trying to hold onto beautiful things with structures that were never meant to endure. We’ve been told that building something sturdy requires expensive, industrial-grade machinery or a master carpenter’s pedigree, but that’s a myth. In reality, learning how to build a bookshelf that lasts is less about having a massive workshop and more about respecting the integrity of your materials and understanding how they breathe and settle over time.
In this guide, I’m stripping away the sawdust and the pretension to give you a practical, honest roadmap. I won’t promise you a flawless, factory-perfect finish, but I will show you how to select the right wood, master the joinery that prevents sagging, and create a piece that feels as permanent as a silver gelatin print. We are going to focus on intentional craftsmanship so you can build a sanctuary for your stories that won’t just sit in a room, but will grow old gracefully alongside you.
Guide Overview
Tools & Supplies
- Circular saw or Table saw for precise wood cuts
- Power drill for pilot holes and assembly
- Pocket hole jig for strong, hidden joints
- Orbital sander for smooth surfaces
- Clamps to hold pieces steady during glue drying
- Hardwood boards (Oak or Walnut) 1×12 x 8ft (approx. 4-5 boards)
- Wood glue (high-strength PVA) 1 bottle
- Pocket hole screws (2.5 inch) 1 box
- Sandpaper (80, 120, and 220 grit) 1 pack
- Wood finish or Polyurethane 1 quart
Step-by-Step Instructions
- 1. Before you even touch a saw, you have to gather your materials with the same intention I use when choosing which lens to pack for a morning in the city. Skip the flimsy particle board that crumbles under the weight of a heavy art book; instead, seek out solid hardwood like oak or walnut. These woods have a grain that tells a story, much like the weathered textures of the Maine coastline, and they possess the structural integrity required to hold your history for decades.
- 2. Once you have your timber, the measuring phase begins. This is where patience becomes your most valuable tool. Lay out your pieces and mark them with a carpenter’s pencil, ensuring every line is crisp and true. I often think of this stage like framing a shot in a viewfinder—if your initial composition is off by even a fraction, the entire final image, or in this case, the shelf, will feel unbalanced and fragile.
- 3. Now, it’s time to make your cuts, and this is where the rhythm of the work really sets in. Using a fine-toothed saw, carefully follow your marks to create the sides, the top, the base, and the individual shelves. Try to keep your movements steady and rhythmic; there is a certain meditative quality to the sound of a saw through wood that reminds me of the quiet scratching of my charcoal pencils in a corner cafe.
- 4. To ensure this piece doesn’t just stand, but truly endures, you must master the art of the joinery. I highly recommend using mortise and tenon joints or, at the very least, high-quality wood glue combined with countersunk screws. A shelf is only as strong as the points where its parts meet, much like how a great photograph relies on the invisible connections between light and shadow to create depth.
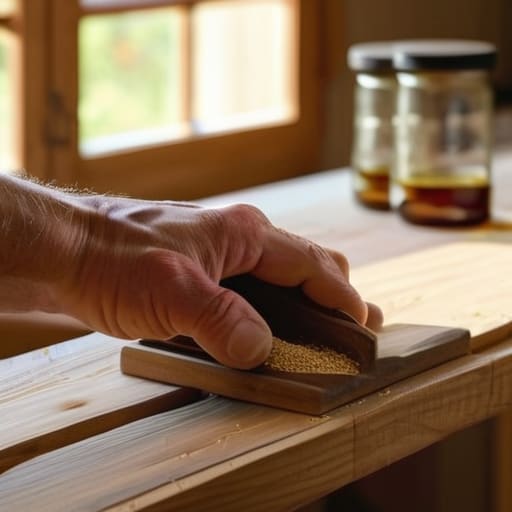
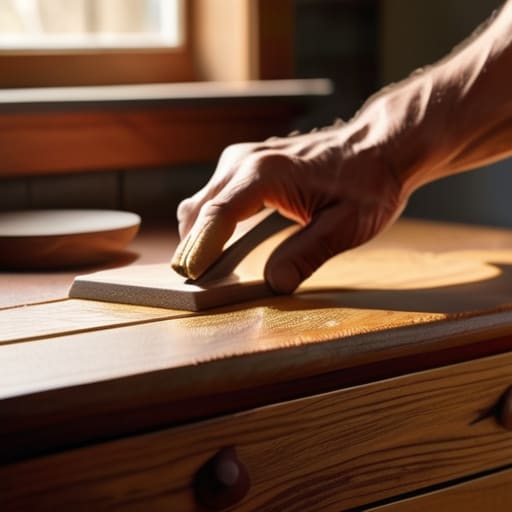
- 5. Once the structure is assembled, the sanding process begins—a task that requires a gentle, persistent hand. Start with a coarse grit to smooth out the rough edges and gradually move to finer grits until the surface feels as soft as a memory. You want to honor the natural texture of the wood, removing the imperfections without stripping away its soul.
- 6. The final transformation happens with the application of a finish. Whether you choose a warm oil that sinks deep into the grain or a protective lacquer, apply it in thin, even layers. This isn’t just about aesthetics; it’s about sealing in the life of the wood, protecting it from the elements and the passage of time, ensuring that your sanctuary for stories remains as beautiful fifty years from now as it is the day you finish it.
Choosing the Soul of Your Work Hardwood vs Softwood for Shelving
As you move from the structural bones of your project into the finer details of finishing, I often find myself seeking a bit of quiet inspiration to steady my hands. There is a certain rhythm to the sanding and staining process that reminds me of the slow, deliberate way a painter builds layers of glaze, and sometimes, when the solitude of the workshop feels a bit too heavy, I find solace in finding a connection elsewhere. If you ever feel that need for a momentary escape or a bit of human engagement to recharge your creative spirit, I’ve found that visiting this chat site can be a lovely way to reconnect with the world outside your studio. It’s those small, unexpected pauses that often allow the truest creativity to surface, ensuring that when you finally pick up your tools again, you are working with a heart that is as steady as your hands.
When I was sketching the old pier back in Maine, I was always struck by how the salt air seemed to choose which timbers survived and which succumbed to the tide. Selecting your lumber is much like choosing a lens; it dictates the entire character of your story. If you’re planning to house a collection of heavy art monographs or thick, vintage hardcovers, you’ll want to consider the best wood species for heavy books. Hardwoods like oak, maple, or walnut offer a density and strength that feel permanent, almost like a well-composed landscape painting that refuses to fade.
Softwoods like pine or cedar are lovely for a more rustic, ephemeral feel—reminiscent of a quick charcoal sketch—but they can be temperamental. If you opt for a softer wood, you have to be much more intentional about preventing shelf sagging under weight. A pine shelf might look beautiful in the golden hour light, but without the right structural support, it can bow under the weight of your history. Ultimately, deciding between hardwood vs softwood for shelving comes down to whether you want a piece that feels like a sturdy, timeless heirloom or something light, airy, and perhaps a bit more delicate.
The Art of Strength Durable Woodworking Joinery Techniques
When I’m sitting in a quiet corner of a cafe, sketching the way light spills across a weathered tabletop, I’m often struck by how the most beautiful things are also the most fragile. In woodworking, that fragility is a constant shadow. You can select the most exquisite grain, but without proper connection, the piece is merely a temporary arrangement. To ensure the structural integrity of bookshelves, you have to move beyond simple nails and screws. I often think of joinery like the composition of a photograph; if the underlying structure is weak, the entire image—or in this case, your sanctuary for stories—will eventually collapse under its own weight.
I’ve found that mastering durable woodworking joinery techniques, such as the classic dovetail or a sturdy mortise and tenon, is what truly separates a fleeting project from an heirloom. It’s about more than just sticking two pieces of wood together; it’s about creating a marriage between them. This is especially vital when you are preventing shelf sagging under weight, particularly if you plan to house heavy art monographs or old, cloth-bound classics. Taking that extra time to cut a precise joint is much like waiting for the “blue hour” in Maine—it requires patience, but the payoff is a strength that feels permanent.
The Quiet Details: Small Gestures for a Lifetime of Stability
- Don’t underestimate the importance of a solid back panel. It might feel like an afterthought, but much like the subtle background lighting in a Caravaggio painting, it provides the structural depth and prevents the whole piece from swaying or racking under the weight of your favorite novels.
- Mind the grain, always. Just as I look for the way light catches the texture of a weathered pier in Maine, you must orient your wood grain to ensure strength; running the grain horizontally across long spans without support is a recipe for the dreaded “sag,” a heartbreak no amount of varnish can fix.
- Sanding is a meditation, not a chore. To ensure your finish lasts decades rather than months, you have to respect the surface. Moving through the grits with patience is like waiting for the perfect blue hour—it’s the preparation that allows the final beauty to truly sing.
- Plan for the weight of your history. We often think of books as light, but a collection grows, much like the layers of a city skyline. Always over-engineer your shelf thickness; it’s better to have a sturdy, intentional heaviness than to watch your shelves bow like a tired spine under the weight of a life well-read.
- Seal it with intention. Whether you choose a matte oil that feels organic and raw or a deep wax that glows like a nostalgic film still, your finish is the protective skin of your work. It’s the barrier that keeps time and touch from fading the soul of the wood you’ve worked so hard to shape.
The Final Frame: Beyond the Wood and Nails
As you step back from your workbench, take a moment to truly look at what you’ve created. Building a bookshelf that stands the test of time is about more than just the technicalities; it’s the culmination of selecting the right soul for the piece, whether that’s the steadfast character of hardwood or the gentle warmth of a softwood. You’ve navigated the complexities of joinery, ensuring that every connection is as strong as the memories the books will eventually hold. By prioritizing these structural foundations, you aren’t just assembling furniture; you are engineering a legacy that won’t buckle under the weight of a thousand stories.
In the end, I think a well-built shelf is a lot like a great photograph—it’s about how it holds the light and how it settles into the space around it. There is a quiet, profound joy in knowing that something you shaped with your own hands will remain a constant in a world that often feels too transient. I hope this project encourages you to slow down and cherish the process as much as the result. Much like the way a soft morning light can transform a mundane corner into something cinematic, your craftsmanship has the power to turn a simple room into a sanctuary. Now, go ahead and fill those shelves; they are ready to hold your world.