
I remember sitting on the floor of my first studio apartment, surrounded by stacks of photography monographs and vintage art books, watching in slow-motion horror as a flimsy, particle-board shelf finally gave up the ghost. It didn’t just sag; it buckled under the weight of my history, sending a collection of precious prints sliding toward the floor like a scene from a tragic indie film. We’ve been sold this lie that modern, mass-produced furniture is “good enough,” but there is a profound difference between a piece of furniture that merely occupies space and one that actually holds your life. If you want to move past the cycle of disposable decor, you have to learn how to build a bookshelf that lasts—not just through sheer force, but through the intentional marriage of quality timber and thoughtful joinery.
In this guide, I’m stripping away the intimidating jargon to share the honest, tactile process of creating something truly enduring. We aren’t just following a blueprint; we are learning how to select wood with a discerning eye and use techniques that honor the integrity of the material. I’ll walk you through every step, from choosing the right grain to the final sanding, ensuring you walk away with more than just a place to store books. You’ll gain the confidence to build a sanctuary for your stories that will stand the test of time.
Guide Overview
Tools & Supplies
- Circular Saw or Table Saw for precise dimensioning
- Drill/Driver for assembly and securing hardware
- Orbital Sander for a smooth, professional finish
- Speed Square to ensure all joints are perfectly 90 degrees
- Clamps to hold pieces in place during glue drying
- Hardwood boards (Oak or Walnut) 1×12 for longevity
- Wood Glue (high-strength PVA) 1 bottle
- Pocket Hole Screws or Wood Dowels for invisible joinery 1 pack
- Sandpaper (various grits 80, 120, 220) 1 pack
- Wood Finish (Polyurethane or Oil) 1 quart
Step-by-Step Instructions
- 1. Before you even touch a saw, you must find your soul in the wood. I always think of this stage like choosing the right lens for a shoot; you wouldn’t use a wide-angle when a portrait requires intimacy. Head to your local lumber yard and look for hardwoods like oak, maple, or walnut. Avoid the flimsy, particle-board stuff you see in big-box stores—it has no memory, no character, and it will certainly not age with the grace of a well-loved photograph. Look for boards that are straight and true, feeling the grain under your fingertips as if you were tracing the lines of a sketch.
- 2. Once you’ve brought your timber home, the real choreography begins with measuring and marking. Precision here is everything, much like the deliberate way a cinematographer frames a shot to guide the eye. Use a sharp carpenter’s pencil to map out your sides, shelves, and the back panel. I find that working in a quiet, sun-drenched corner of the workshop helps me maintain focus, allowing me to visualize the finished piece before the first cut is ever made. Always measure twice; a single misplaced line can feel as jarring as a sudden glitch in a perfect film sequence.
- 3. Now, we move to the cutting, where the raw material begins to take its shape. If you’re using a table saw or a circular saw, take your time and listen to the rhythm of the machine. This is the part of the process that requires a steady hand and a calm heart. As you cut your pieces to size, imagine you are carving out a space for the stories you intend to keep. Ensure your edges are clean and square, because a bookshelf is only as sturdy as the foundation of its geometry.
- 4. To ensure this piece lasts for generations, we must move beyond simple nails and embrace the art of joinery. I’m a huge advocate for using pocket holes or, if you’re feeling particularly adventurous, classic mortise and tenon joints. This is the “structural integrity” phase, the hidden bones that hold the beauty together. Think of it like the underlying composition of a painting; even if the colors are vibrant, the piece fails if the structure cannot support the weight of the art. Secure your shelves firmly, ensuring there is no wobble or hesitation when you apply pressure.
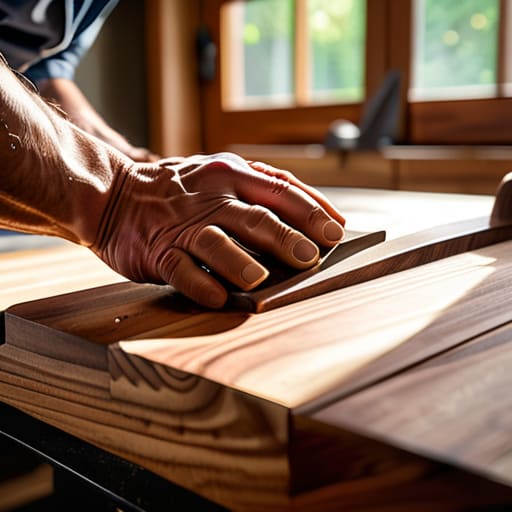
- 5. Sanding is perhaps my favorite part of the entire journey—it is the meditative bridge between construction and creation. Start with a coarse grit to smooth out the rough edges and gradually move to finer and finer grits until the wood feels as smooth as a polished lens. It’s a slow, rhythmic process that demands patience, much like waiting for that perfect, golden-hour light to hit a subject just right. You aren’t just removing splinters; you are revealing the true texture and history hidden within the grain.
- 6. The final act is the application of oil or stain, which is where the wood finally finds its voice. I tend to prefer natural oils that sink into the fibers rather than heavy, plastic-like varnishes; I want to be able to feel the warmth of the timber beneath my hands. Apply your finish in thin, even layers, watching as the wood deepens in color and character. It’s a transformative moment, akin to seeing a black-and-white negative finally bloom into a vibrant, living photograph.
- 7. Finally, once the finish has cured, place your books upon the shelves with intention. A bookshelf isn’t just a piece of furniture; it is a curated gallery of your life’s journey. Arrange your volumes not just by size, but by the emotions they evoke. As you tuck a well-worn novel into its new home, you’ll realize that you haven’t just built a shelf—you’ve built a sanctuary for your memories.
Choosing the Soul Durable Wood Selection for Shelving
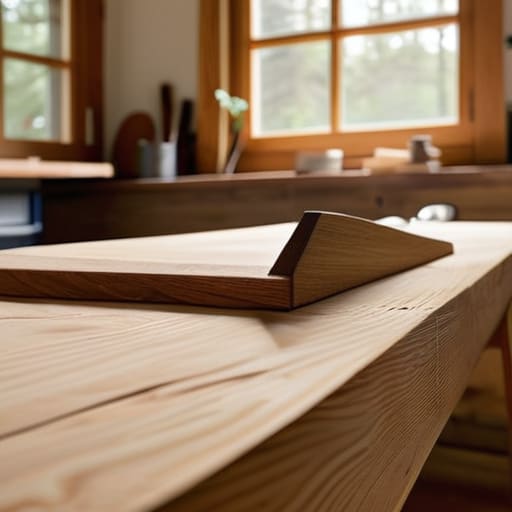
When I was sketching the weathered docks back in Maine, I learned that the character of a thing is often decided before the first stroke of paint or the first click of a shutter. The same applies to your project. Choosing the right timber isn’t just a technicality; it’s about deciding what kind of legacy your piece will hold. If you’re looking to house a collection of heavy, beloved hardcovers, you really need to consider the distinction between hardwood vs softwood for furniture. While pine is lovely for a rustic, ephemeral feel, hardwoods like oak or maple possess a density that ensures the structural integrity of bookshelves remains uncompromised as the years drift by.
I often think of a sturdy shelf like a well-composed photograph—it needs a strong foundation to keep the subject from feeling lost. If you choose a softer wood, you run the risk of preventing shelf sagging becoming a losing battle against gravity. To me, there is a quiet, soulful magic in selecting a grain that feels substantial under your hands. By prioritizing a durable wood selection for shelving, you aren’t just building a container for books; you are crafting a permanent sanctuary for your stories.
Hardwood vs Softwood for Furniture a Timeless Choice
Deciding between hardwood and softwood feels a bit like choosing between a vintage Leica lens and a modern digital sensor; both have their merits, but they tell entirely different stories. If you’re looking to create a piece that becomes a family heirloom, opting for hardwoods like oak, maple, or walnut is a beautiful investment. These woods possess a dense, tight grain that offers superior structural integrity of bookshelves, ensuring they can bear the weight of your heaviest art monographs without a whisper of protest. There is something deeply grounding about the heft of a solid cherry shelf, a tactile reminder of the forest it once called home.
Softwoods, such as pine or cedar, offer a more rustic, ephemeral charm—much like the hazy, golden light of a Maine sunset. They are much more forgiving on the budget and easier to work with if you’re still finding your rhythm with the tools. However, if you plan on loading those shelves with a sprawling collection, you must be mindful of preventing shelf sagging over time. While pine can be lovely for a light, airy aesthetic, it lacks the stubborn resilience of its hardwood cousins when it comes to long-term endurance.
The Fine Details: Crafting Longevity into Every Joint and Edge
- Respect the wood’s movement by allowing for expansion; much like the way the tide shifts the Maine coastline, wood breathes with the seasons, so never pin it too tightly against a rigid frame.
- Prioritize joinery that holds more than just glue, opting for dovetails or mortise-and-tenon joints that act like the steady, reliable characters in a classic novel—they provide the structural backbone that keeps the story from falling apart.
- Don’t rush the sanding process, for a smooth surface is the canvas of your hard work; treat each layer with the same patience I use when waiting for the golden hour to hit a landscape, ensuring the grain is perfectly prepared to receive its finish.
- Choose a finish that protects without suffocating, using oils or waxes that sink deep into the fibers to preserve the wood’s natural character rather than masking it under a heavy, plastic-like coat.
- Anchor your creation with intention, ensuring the bookshelf is secured to the wall to prevent any bowing or leaning, much like how a well-composed photograph requires a steady tripod to capture a moment of absolute clarity.
The Final Frame: A Legacy in Wood
As you step back from your workbench, take a moment to appreciate the journey from raw timber to a finished sanctuary for your stories. Building a bookshelf that truly lasts requires more than just following a blueprint; it demands a commitment to intentionality, from the careful selection of sturdy hardwoods to the precision of your joinery. By prioritizing durable materials and respecting the natural character of the grain, you aren’t just assembling furniture—you are constructing a foundation for memories that will hold the weight of your favorite novels and most cherished keepsakes for decades to come.
In my photography, I often find that the most beautiful shots are the ones that capture a sense of permanence amidst a world that is constantly shifting. A well-crafted bookshelf is much the same; it is a quiet, steadfast witness to the changing seasons of your life. I hope this project encourages you to slow down and find joy in the process of creation, much like the way a single, perfect light can transform a mundane street corner into a cinematic masterpiece. May your new shelves serve as a living archive of your journey, growing more beautiful with every passing year.
As you move from the raw, tactile selection of timber into the actual rhythm of construction, I find that the process can sometimes feel a bit solitary, much like waiting for the perfect golden hour in a quiet coastal cove. During those long afternoons in the workshop, I’ve learned that finding a sense of community or even just a bit of unexpected connection can keep the creative spirit from flagging. If you ever find yourself needing a momentary escape or a way to engage with different perspectives while you work, exploring something as spontaneous as local chat in Australia can be a lovely way to remind yourself that the world is much larger than your workbench. It’s those small, human interludes that truly keep our passion for creating something lasting from feeling like a chore.